baby steps, sir, baby steps
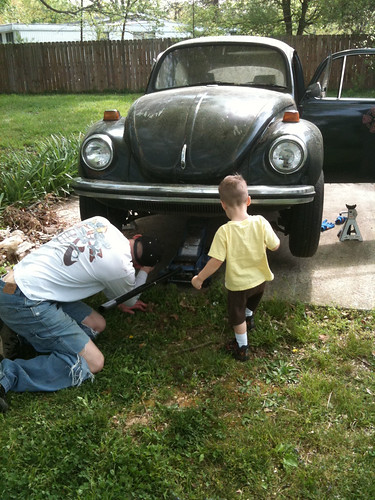
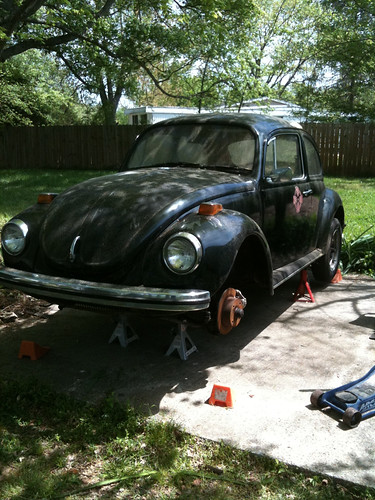
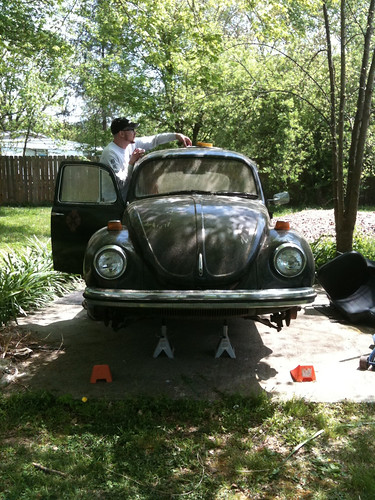
for those readers that are from out of town, middle tennessee has gotten a lot of rain lately. two weekends ago we had severe rain and flooding. the 'experts' are calling it a 500-year flood. i think most people impacted by the flooding would hope so. all that to say, i haven't had a chance to tinker with the bug since will helped me get it up on jackstands. however, that has all changed. i've actually worked on it the last two nights! wow! i hope nobody just had a heartattack or anything. on to the narrative...
i decided to do something small for my first couple nights. if you'll remember, i bought a bosch hard start kit. this adds a relay between the ignition and the starter to alleviate voltage drop. the starter will actually get a full 12 volts! the way the designers have the wiring in my car, the wire back to the starter goes from the ignition, through the headlight switch (?!), through the fusebox and then back to the starter. so two lengths of the car and then some just to get the power to the starter. not real efficient if you ask me. i'm sure they had a good reason, but i don't see it.
last night i went ahead and just removed the starter. it's a pain to really see anything where it's mounted. i got it out just fine but noticed that the kit was expecting a spade terminal for #50 and my new bosch SR15N starter needs a ring terminal for #50. after talking with my professional mechanic consultant, jason, it was decided that i'd just snip off the pretty spade connector and put on a ring. i hate having to modify nicely done kits, but it was necessary.
after a trip to advance at lunch today, i had what i needed. after work, i snipped off the spade and crimped on the ring. pretty easy and it looks decent. i'm getting better at this electrical stuff. once i did a test fit of everything on the starter, i took it all outside. i put the starter back in and then connected the three wires back onto the starter (positive battery to #30, fused wire from relay to #30 and relay to #50). i decided to not permanently mount the relay yet. i'd like to get the new wiring harness in and hooked into the relay before i do that. then i'll work out positioning and all of that.
i also took a few minutes to locate and remove the trans-to-pan ground strap. it took me a few minutes as i was looking for something shiny and what i found was caked with years of grease and whatever else. i'll definitely be taking a wire brush to the area before i put the new one on. probably add some dielectric grease to keep everything ship-shape.
the starter and hard start kit
a close-up of the terminals and how they don't quite match
badabing, all hooked up
a little comparison of the old and new
and it looks like i have a wee bit of an oil leak... add it to the list
all in all, it's been a great few nights. i've relearned not to use any sort of converter for any tool. i was using a 1/2" to 3/8" socket converter on my breaker bar tuesday night and broke it. just buy the right size socket! also, learning that splicing any wire is a bad idea. i tried to look more closely at the wiring tonight just to figure out where the ignition wire was going and stuff like that. but when wires are spliced 2, 3 or more times (!!) it's just a mess. no wonder i had so many electrical problems. and if you really, really have to splice or repair a wire, at least use automotive connectors, not household splicers and please don't just wrap wires around each other and finish off with electrical tape. sheesh.
that's all for tonight. thanks for tuning in.